Range Repair
Viking Range Burner Will Not Light in Marblehead: The Order to Check
A Viking burner that clicks without lighting is settled by one question first: is it one burner or all of them? One means that burner’s cap, ports and electrode; all of them means the module, the earth or the supply. If you smell gas, leave and call the utility.
One burner, or all of them? Answer that first
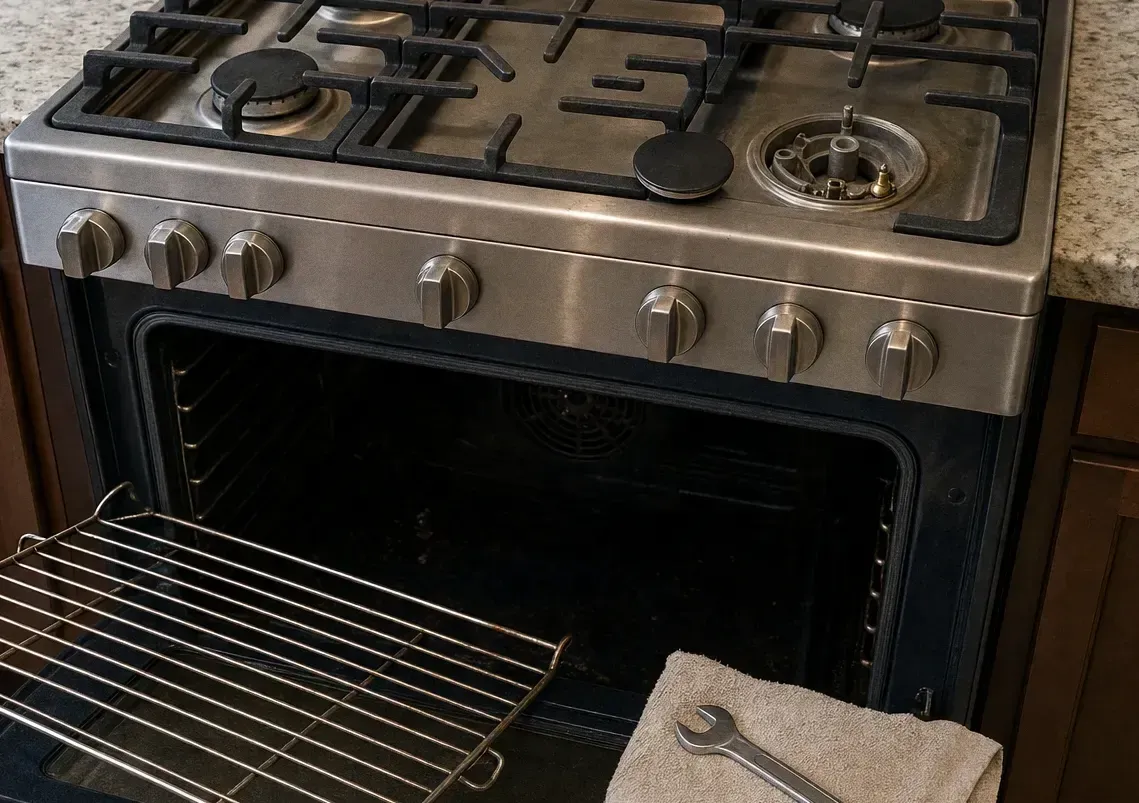
Before anything is lifted or cleaned, establish how much of the top is affected, because the answer splits the diagnosis into two halves that share almost nothing. Where one position alone refuses to catch, the fault is local to it: the cap on that burner, its ports, its electrode. Every position clicking without lighting points somewhere common to all of them — the ignition module, the earth, or the supply into the appliance.
One caveat outranks the test, so take it first. A smell of gas that is still there a moment or two later makes everything written here irrelevant. Leave the house and call the gas utility from outside. That is not our job and we would not want it to be.
With that said, the test is quick. Try each position in turn and write down what happens at each: catches normally, catches after a delay, clicks without catching, does nothing at all. Note whether the clicking comes from one place or from right across the top, because on many appliances all the electrodes fire together from a single module, so one knob produces a chorus. That is normal behaviour and is regularly misread as a fault in itself.
A third pattern is neither of the two: clicking that continues with every knob in the off position. That has its own cause and belongs in its own bucket, so record it and keep it separate from the others.
Marblehead adds a variable that inland towns do not have. On the Neck and along the seaward streets of Swampscott, salt-laden air works on everything with a metal surface, and the small components around a sealed burner are no exception. If the failure appeared gradually over a couple of damp seasons rather than overnight, corrosion and residue are more plausible than a component that simply died.
The mechanical checks, which are most of the answer
Most single-burner ignition faults are resolved with a torch, a soft brush and five minutes, and the reason is that ignition depends on a precise physical relationship between the cap, the ports and the flame path. A cap sitting a hair proud of its seat, or rotated slightly off its register, changes where the gas goes as it leaves the burner and can defeat a spark that is in perfect health.
Take the grate and the cap off, cold, and look at where the cap lands. It should drop into its location without being persuaded and sit flat, with no rock when you press one edge. If it rocks, or if you can see daylight unevenly around the rim, it is not seated, and re-seating it is the fix. Caps and heads from adjacent positions are not always interchangeable, and a cap swapped during cleaning and put back on the wrong burner is a surprisingly common cause.
Then the ports. Boil-overs leave sugar and starch that harden into a glaze, and the small openings around the crown clog from the outside in. Clear them with a soft brush and, where a port is genuinely blocked, a thin non-metallic pick worked gently from the outside. Nothing that could scratch, widen or deform an opening, and nothing pushed inward, because debris driven into the burner is worse than debris left on it.
Moisture is the last of the mechanical group and it is the reason so many of these faults appear immediately after a thorough clean. Water sitting across the electrode suppresses ignition until it has fully dried, and a cap or head that was washed and reassembled while still damp will click and refuse to light in a way that looks like a dead component. Dry everything properly and give it real time in a warm room before you conclude anything, particularly in a harbourside kitchen where the ambient air is doing you no favours.
Where the spark is supposed to jump
A healthy spark is a crisp, tight snap that jumps from the electrode tip to the nearest earthed metal on the burner head, across a small and consistent gap. In a darkened kitchen you can see it: a fast blue-white arc, in the same place each time. What you are looking for is not merely the presence of a spark, but whether it is landing where it is meant to land.
Cracks in the ceramic insulator around the electrode are the classic failure and they are easy to miss. The crack gives the spark a shorter, easier route to earth through the body of the insulator, so the module fires, the appliance clicks confidently, and nothing ever reaches the gas. Look closely at the white ceramic for hairline damage, chips at the base, or a sooty track running down it, which is the mark left by a spark that has been taking the wrong path for a while.
Residue does the same thing by a different route. A film of grease and salt across the electrode and its surroundings gives the arc somewhere else to go, or spreads it into a weak, wandering discharge instead of a concentrated one. Clean the electrode carefully with a dry cloth or a little alcohol, cold, and never bend it to adjust the gap.
The general lesson holds across all of this: the clicking sound only confirms that the module is firing. It says nothing whatsoever about whether the spark is arriving in the right place, and nothing at all about whether gas is there to be lit.
Is gas actually arriving?
If the spark looks right and the mechanical checks came back clean, the remaining question is supply, and you can answer part of it without any tools. Does another gas appliance in the house work normally? Has there been recent work on the service, or an interruption reported in the street? Is the appliance shut-off valve, usually behind or beneath the unit, fully open rather than partly turned?
What is not a diagnostic step is sniffing around the connections to find out whether gas is present. Smell is an alarm, not an instrument. Its only correct use is the one described at the top of this page: if you smell gas and it persists, leave and call the utility from outside.
Beyond those visible checks, this stops being a homeowner task. Verifying pressure at the manifold, confirming that a valve is opening as commanded, and checking an orifice against what the appliance was configured for all require gauges and gas-side work. That is the line, and it is not a soft one.
Delayed ignition, and why it is not something to live with
A burner that lights after a noticeable pause has spent that pause releasing gas into the room while the spark failed to catch it. When it finally does catch, it lights everything accumulated in one go, which is the thump people describe and often shrug off. It deserves attention sooner than a burner that never lights at all, precisely because it appears to be working.
The causes overlap with the ones above: a cap out of position, partially blocked ports, a weakened spark landing off-target, or residual damp. That overlap is good news, because the same mechanical inspection covers them. Work through the cap, the ports and the electrode, and re-test in a darkened kitchen so you can see whether the arc has changed.
What does not apply is anything that involves adjusting the gas side to compensate. Turning something up to overcome a delay does not treat the cause and adds fuel to the exact condition creating the thump. If the delay survives a proper mechanical check, hand it over — this is the everyday work described on the Range Repair page, and it is quicker to settle with instruments than with another round of cleaning.
Where to stop
Once more, plainly: a gas smell that does not clear means leave the building and call the utility from outside. Not us, not first, not while you check one more thing.
Short of that, three symptoms end the DIY stage. Delayed ignition that persists after cleaning. Continuous sparking with everything switched off, which points at a switch or the module rather than at anything you can reach. And a burner that lights and then drops out, which is a flame-supervision question and not a cleaning question.
What we establish that you cannot is straightforward: whether the module is producing a spark of the right character on the right circuit, what pressure is actually present, whether a switch is opening and closing as the knob turns, and whether the earth path the spark relies on is intact. The diagnostic visit is $95, and where the fix lands in the igniter or the burner assembly, that work typically runs from $270 to $660.
We work in Old Town, on Marblehead Neck and up through Peach Highlands. Above you will find both the number and the link that books a visit.
Still asked on the phone
Is a burner that lights after five seconds a problem?
Treat it as one. Through that pause, gas is filling the space around the burner and then lighting all at once, which is the thump people describe. It deserves attention sooner than a burner that never lights, precisely because it appears to be working. Start with cap seating, the ports and the electrode; if the delay survives a careful clean, hand it over rather than living with it.
The flame is orange rather than blue — is that related?
Often, because both trace back to the burner’s air and gas path. A lazy yellow flame suggests the mixture is not forming properly — a cap out of position, ports partly closed, or debris in the crown. Occasional orange flecks from dust or salt carried in coastal air are ordinary. A persistently yellow flame that sooties the base of a pan is not, and it should be looked at.
The burner clicks — does that mean the igniter is fine?
No. The click confirms only that the module is generating and delivering its high-voltage pulses. It says nothing about where the energy actually lands, and a cracked ceramic insulator will let that energy leak away to earth while the appliance sounds entirely healthy. Watch the arc with the kitchen lights down: you want a tight snap to the burner head, in the same spot every time.